You’ve got your new spinning fishing reel and a fresh spool of high-performance braid fishing line. The final step before you can hit the water is putting the line on the reel. It seems simple enough, right? But this is a crucial step where one small mistake can lead to a disastrous day of tangles and frustration. Do I really need a backing for my braided line? The answer is yes, and it’s the most important secret to success. Don’t worry, we’re going to show you the foolproof, step-by-step method. Follow this guide on how to put fishing line on a spinning reel perfectly every time. Once your reel is spooled correctly, you’ll have the confidence to make countless trouble-free casts. For the best line for the job, check out our high-performance braided lines.
What You’ll Need: Gathering Your Tools
Before you start, gather these few essential items. Having them ready will make the process smooth and easy.
Your Spinning Reel and Braided Line
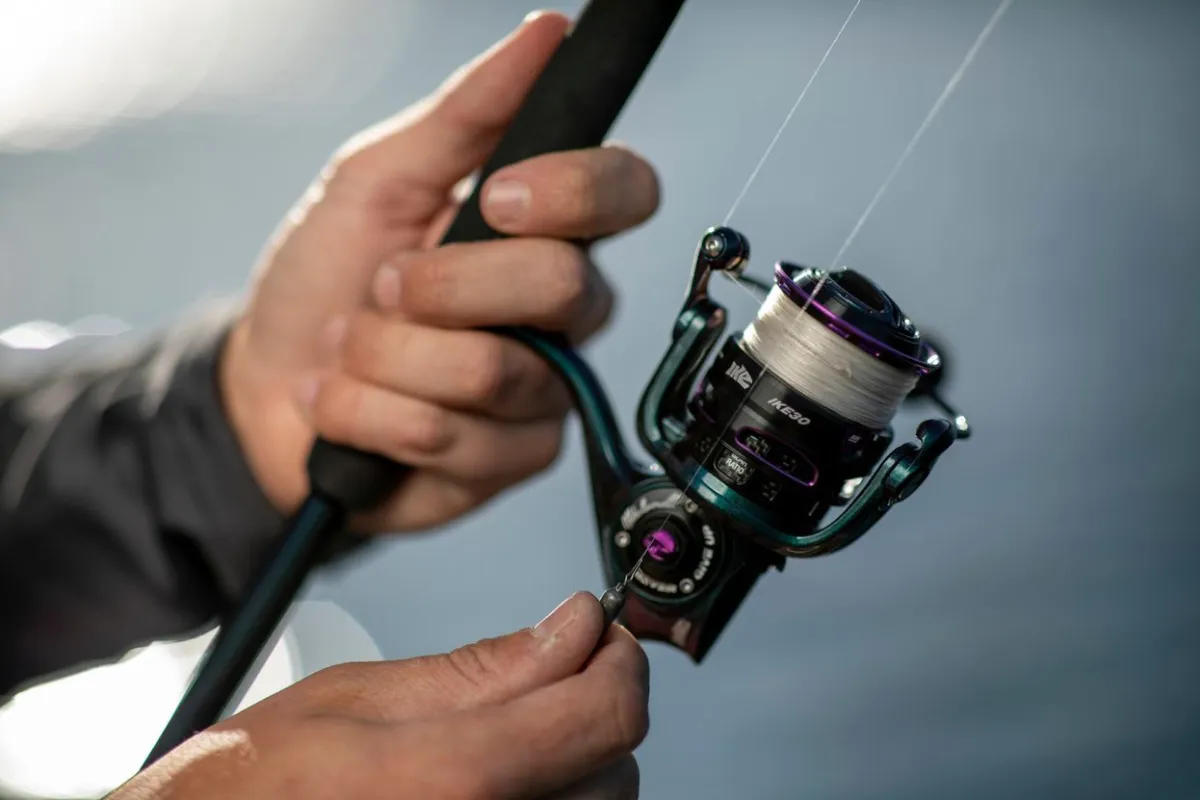
Make sure your reel is attached securely to a fishing rod. This will give you a stable platform to work with.
A Piece of Monofilament (for backing)
You only need a small amount, about 10-15 yards, of cheap monofilament line. The pound test doesn’t matter much; 8-12lb is fine.
Scissors or Line Cutters
You’ll need these to trim your tag ends neatly.
Step 1: The Secret to Success – Creating a Backing
This is the most critical step that many beginners miss. It is the definitive answer to “how to stop line slip on spinning reel.”
Why Braid Slips on a Bare Spool
Braided line is very slick and has zero stretch. When tied directly to a smooth metal spool, it can’t get a good grip. Under pressure from a heavy fish, the entire bundle of braid can spin freely around the spool, making it impossible to reel in. It will feel like your drag is broken.
How to Tie a Monofilament Backing
The solution is simple. Monofilament line stretches and grips the spool arbor tightly. By tying a short base layer of mono to your reel first, you create a non-slip surface for your braid to bite into. Tie the monofilament directly to your spool arbor using a simple Arbor Knot. Then, reel on about 10-15 yards of the monofilament—just enough to cover the surface of the spool.

Step 2: Tying the Connecting Knot
Now you need to connect your main braided line to the monofilament backing.
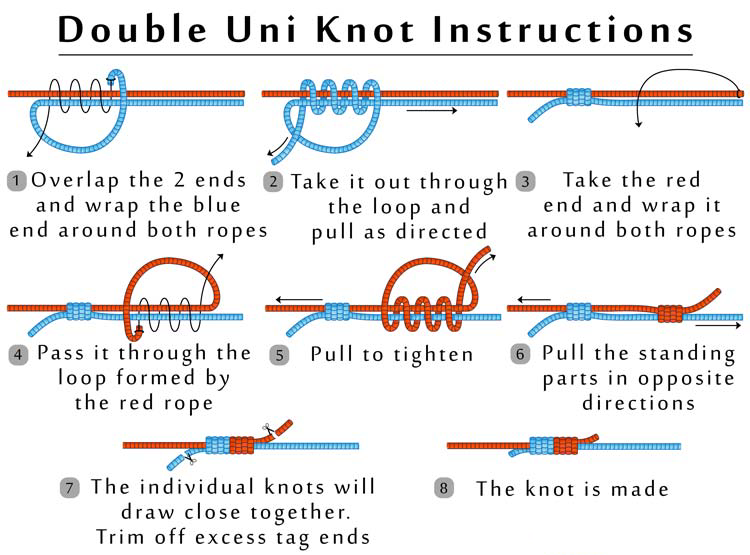
Using a Simple Uni-to-Uni Knot
The easiest and most reliable knot for this connection is the Uni-to-Uni knot. It’s the same knot you use to tie on a leader, just with your backing and mainline. (If you need a refresher, check out Step 2 of our Guide to Setting Up a Leader Line). It creates a strong, slim connection that will wind onto the reel smoothly.
Step 3: Spooling the Reel Under Tension (The Most Important Step)
This is where the magic happens. Winding the line on tightly and correctly prevents tangles down the road.
How to Position the Line Spool
Lay the new spool of braided line on the floor with the label facing up. The line should come off the spool in the same direction that your reel’s bail is turning (counter-clockwise for most spinning reels). This prevents line twist.
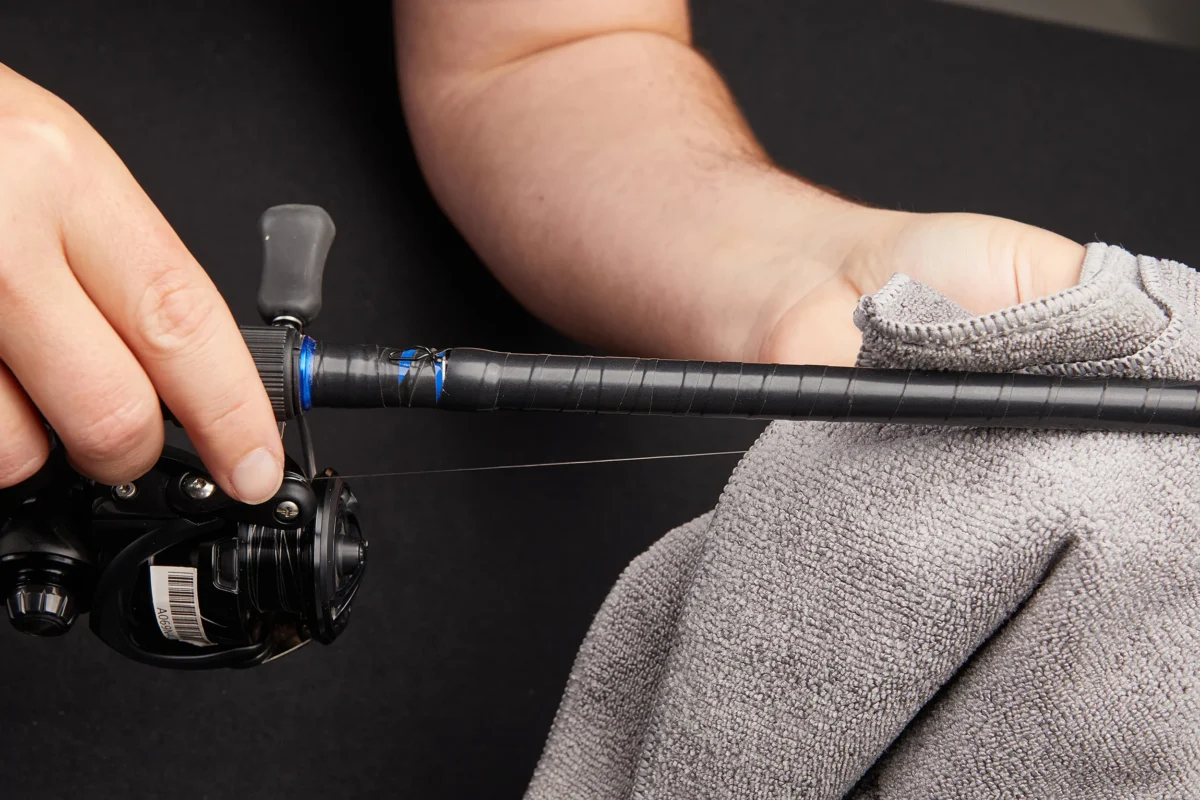
Applying a Firm, Consistent Tension
Run the line through the first guide on your fishing rod down to your reel. Pinch the line lightly in front of the reel with your fingers (using a cloth can prevent line burn). As you turn the reel handle, maintain this tension. The goal is to pack the line on tightly and evenly.
How Full Should You Spool It? (The 1/8th Inch Rule)
Do not overfill your reel! This is the number one cause of “wind knots” where line mysteriously jumps off the spool. Fill the spool until the line is about 1/8th of an inch from the outer edge of the spool lip. This small gap is crucial for smooth casting.
Spooling Complete: You’re Ready to Fish
That’s it! You’ve successfully spooled your spinning reel like a pro. By adding a backing and keeping firm tension, you’ve eliminated the risk of line slip and greatly reduced the chance of tangles. You’ve set yourself up for a successful, frustration-free day on the water.
Now that your reel is ready for action, make sure you have the best gear for your next trip. Explore our collection of reels and lines.
FAQ: Top Spooling Questions and Problems Solved
My line is twisting as it goes on the reel. What am I doing wrong? Line twist is almost always caused by the line coming off the filler spool in the opposite direction that your reel’s bail is turning. The solution is simple: flip the filler spool over so the label faces down and continue reeling. This should reverse the twist.
Can I spool a reel by myself without any special tools? Absolutely. The method described above is designed to be done by one person with no special tools required. While line spooling stations exist, they aren’t necessary. Using a book to apply tension to the line as it comes off the spool is a popular and effective DIY method.
How much backing should I use? You only need enough monofilament backing to cover the surface of the spool arbor, typically 10-15 yards. The goal isn’t to fill the reel with backing, but simply to create a grippy base layer for the braid. Using too much backing just wastes space that could be used for your main braided line. Get the right line for your reel by browsing our selection.